Open Frame Rack: A rack structure without doors or side panels, allowing easy access and better airflow. A data center server rack is the physical foundation of modern IT infrastructure, enabling the organized installation of servers, switches, PDUs, UPS systems, and structured cabling. There are three primary rack types - open-frame racks, enclosed cabinets, and wall-mount racks, each suited for. Understanding data center racks, chassis, and their differences is crucial for efficient server deployment. This guide clarifies common terminology confusion and design implications. Modern data center racks house multiple server chassis in standardized dimensions, enabling efficient space. IT racks are the backbone of any data center, housing critical infrastructure like servers, networking equipment, and storage devices. Whether you are designing a new setup or optimizing an existing one, understanding key IT rack terminologies is essential. This article provides an overview of the. A server rack, also known as a server cabinet, is a specialized metal frame structure designed to store and organize IT equipment. It supports hardware, enhances cooling, and ensures efficient power distribution. This guide covers everything you need for. Recommended (Suitable for all four classes; explore data center metrics in this paper for conditions outside this range. Classes A3, A4, B, and C are.
[PDF]
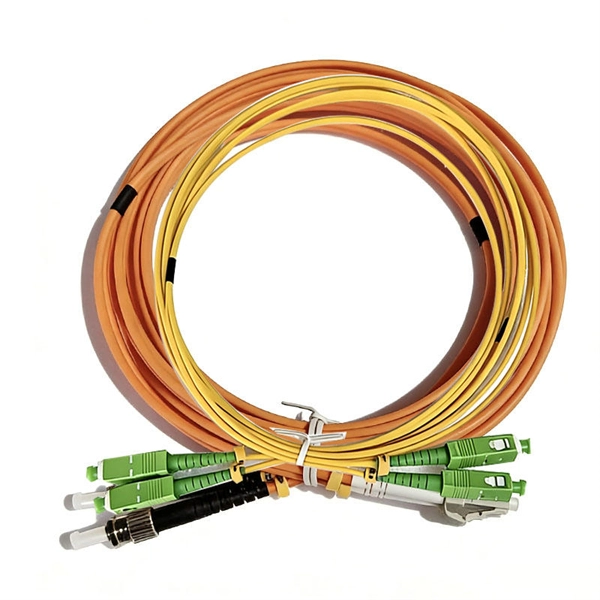
To check a fiber connection, connect a jumper to the optical source port and the other end to an optical meter. Press the “test” or “signal” button to send a signal from the source to the meter. While there are many different fiber optic cable tests, the most common version is an insertion loss test, also known as an attenuation, jumper, or connectivity test. This test requires a special testing kit and protective eyewear, but it will help you diagnose problems with the cable's. We'll explain why it's vital to test fiber optic cables, the three most popular methods, and when you should use them. Related: Fiber Optic Connectors – Identification Guide Regularly testing fiber optic cables helps minimize network downtime, lengthens the network's longevity, reduces maintenance. In this guide, we'll explore effective methods to check your fiber connection, including tools required and common issues to look out for. Below is an in-depth guide on how to assess the health and performance of a fiber optic connection: Before relying on technical tools, start. Whether you're a professional or a DIY enthusiast, knowing how to test fiber optic cables is crucial. In this blog, we'll explore different methods, including using a flashlight, advanced tools like Fluke testers, and more cost-effective options for testing fiber optics. In fiber optic communication, data is transmitted over two strands of fiber: one for.
[PDF]
While there are situations when you will have to route cable through structural members such as studs, joists, and rafters, the job is much easier if you can run the cable along the surfaces of these frames. When you have a situation where you need to run cable through. Running new wiring within existing, finished walls of a wood-framed structure is a common necessity for home upgrades, whether for installing low-voltage data and audio cables or for extending line-voltage electrical circuits. Another is to conceal the cords and cables within the walls. This guide will help you learn how to run low voltage cables through the wall using low voltage boxes and face plates. To learn how to add. Many home improvement projects require you to install new electrical cables inside finished walls. The process is often called "snaking" or "fishing," with good reason. Cables often must be bent, slithered and coaxed around stud spaces and through small holes in the framing. Click on any image to see a larger version. When installing an electrical box, drill a hole in the floor between the studs on the same side as the electrical box. Staple down the wire right above the hole and. Method One: In order to cut the panel correctly, you first need to make the right measurements. Mark this distance on the panel you will be using. Make sure to mark this from the top.
[PDF]